To continue on Scott W Leslie’s question about editing video in Photoshop, let’s discuss one type of video that Photoshop is really great at creating - a cinemagraph.
What Is A Cinemagraph?
A cinemagraph is a short (about 4 seconds max) looping video used on the web or on TV. Usually they look like a still image with a small section that is in motion. Perhaps it’s light moving over a lush head of hair, or the cape of some hero moving in the wind. The idea is to create some small image that has a sense of motion, but acts for design purposes as a still. The first step in creating the image is to shoot the video. It has to be something that can easily have the motion looped. For this lesson I shot some water flowing from a faucet over an orange using a Pentax 645Z and the 645 200/4 SMC-A. The reason I use a manual focus version of this lens (I do have the AF version) is that that lens is easy o modify to a de-clicked aperture for shooting video. IN a later video I’ll show you the whole procedure on how to do this, but it’s about the only current option to use lenses on the 645Z with a smooth iris for cinematography.
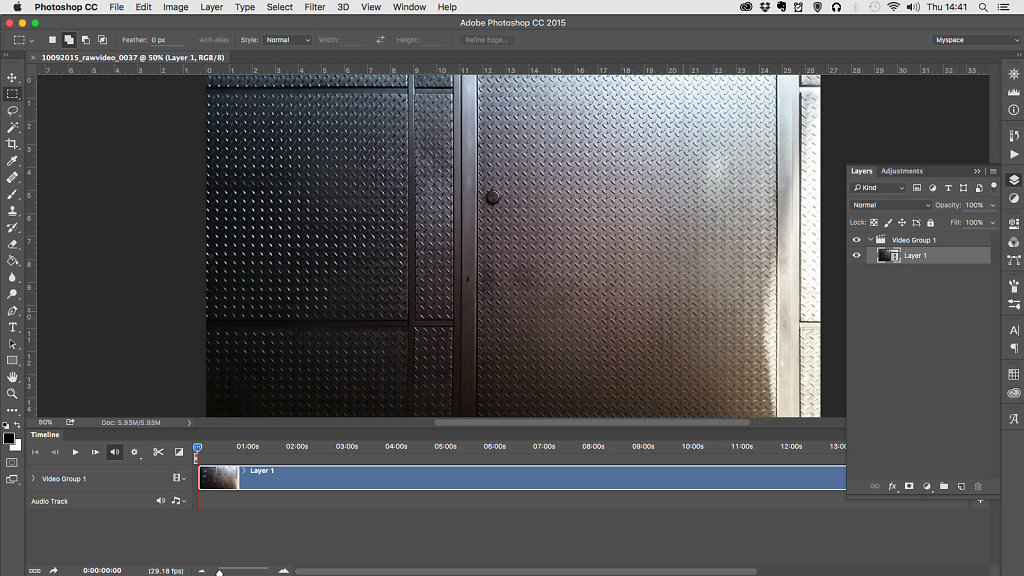
The other thing to consider is that you must create a custom color profile (i.e. modify one of the scene modes) to give as “flat” an image as possible. That means turning the saturation, sharpness and highlights all the way down and the shadows all the way up. I keep this profile solely for shooting video. After setting a custom white balance I shot the video at ISO 1600 at F/4 and a shutter of 1/50th at 24fps. There is a very specific reason for those settings, but that will be covered later. I then imported the video into Photoshop CC 2015.
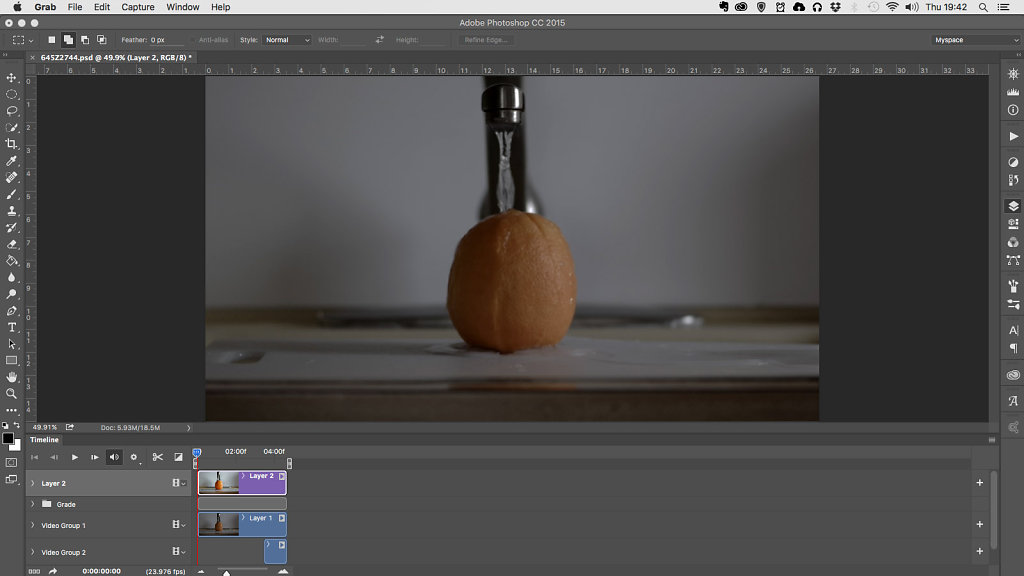
After importing the video I trimmed the beginning to the 14 second mark and cut the remained after the 22 second mark. Why trim on the from and cut the back? The reason for this is when I go to the next step, the data in the trim section is still there, while the data in the cut section is lost for the most part in our next step. You see we will be duplicating this layer into a new video group and recovering about 2 seconds from the start and trimming the end so that the last frame of the duplicated layer is the exact same frame as the starting frame of the original layer.
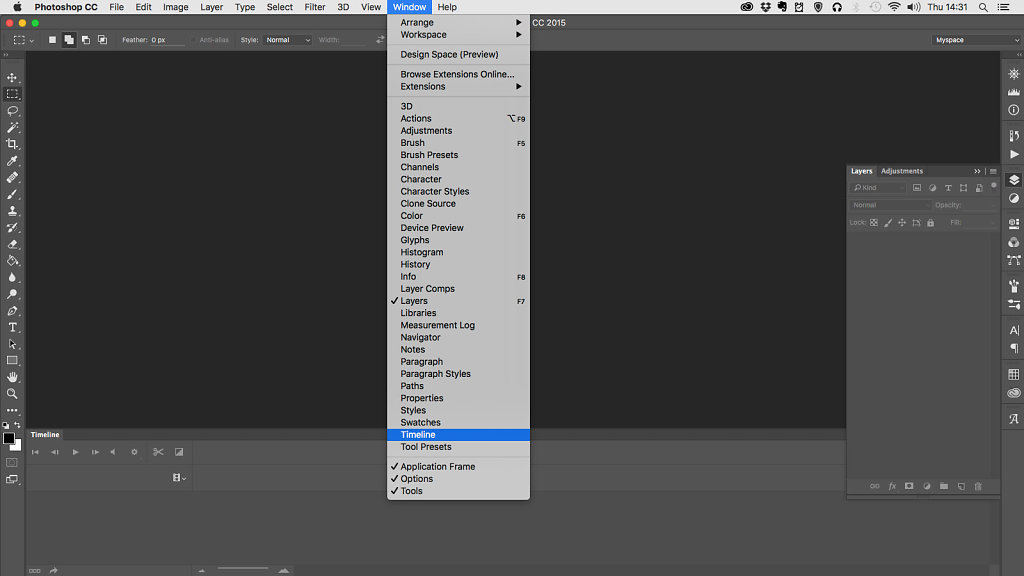
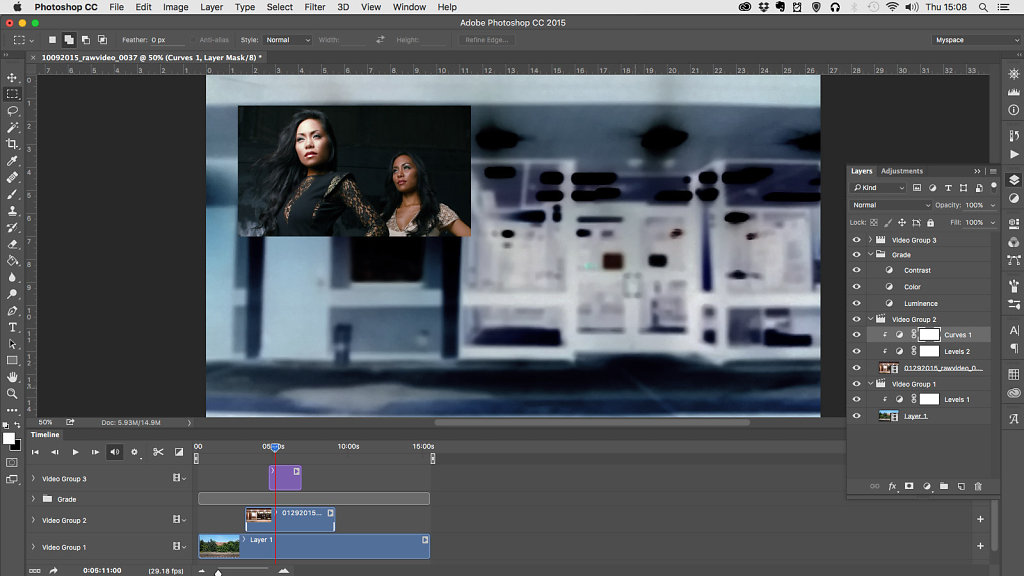
The reason we need to do this is create a smooth looping video that doesn’t look like it skips. To start this step from the Timeline Window we create a new video group. We then using the “Duplicate Layer” function on the Layer Palette. If you use the keyboard shortcut you will duplicate the untrimmed video which just adds time to your workflow. The Duplicate Layer function on the other hand only duplicates the edited clip which is what we want. When duplicated the new clip will be at the very end in the same video group as it’s original. We must drag that clip into the new group then drag that group so it is below in order the original group as we see below.

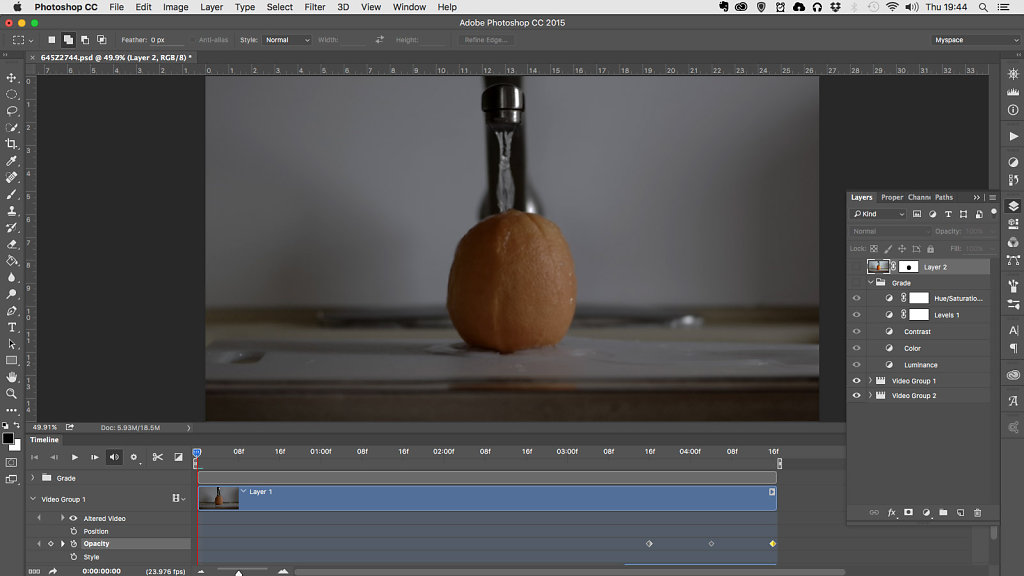
At this point we now add back about 1-2 seconds to the start of the video in the new group and trim the end of it so it matches the end of the first video, basically making the last frame of this duplicate clip the same as the first frame in the original clip. At this point we must now smooth out the video image so there is no “skipping” in playback. We do this using opacity markers on the original clip layer, setting the first one about a second into the duplicate clip, and using additional markers to set the opacity to 0% by the end of it’s playback so the last frames of the duplicate frame are showing through fully.
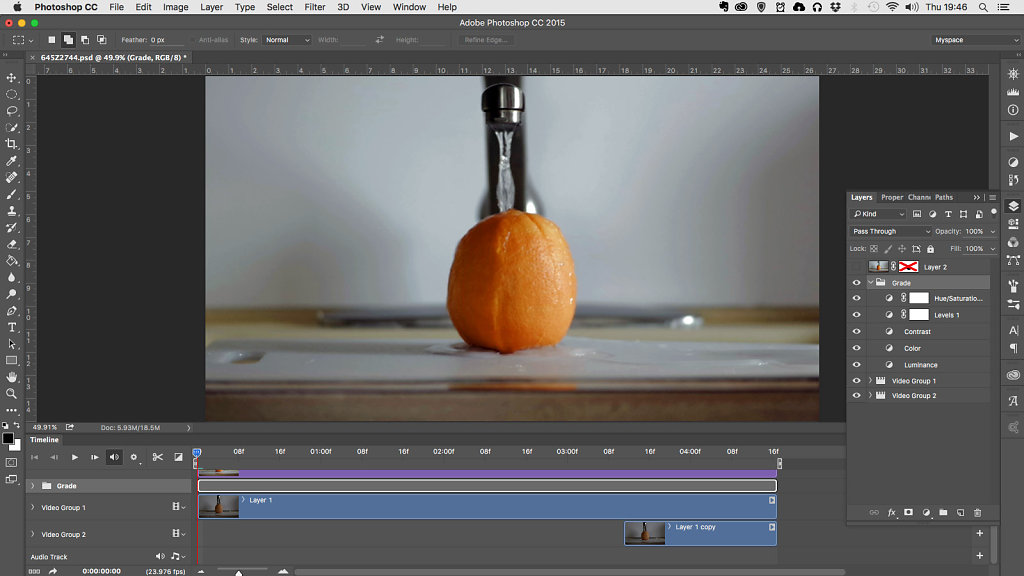
Now that we have a smooth looping video it’s time to color grade the image. Color Grading is the video equivalent of Color Correction in still photography and the major reason why you want as flat an image as possible. Unless you are shooting with a camera that generates CinemaDNG files, this is your best option. Now I already use color grading in still photography to set a “mood” when processing in post images for editorials. To do this quickly I use an action I call “Grade” that creates a layer group that has two Curve Adjustment layers (one set to “luminosity" and the other to “color”) and one Channel Adjustment layer set to “soft light”. After making adjustments as needed and adding some addition adjustment layers based on need (in this case Saturation and Levels) I get the image rather quickly looking the way I want.
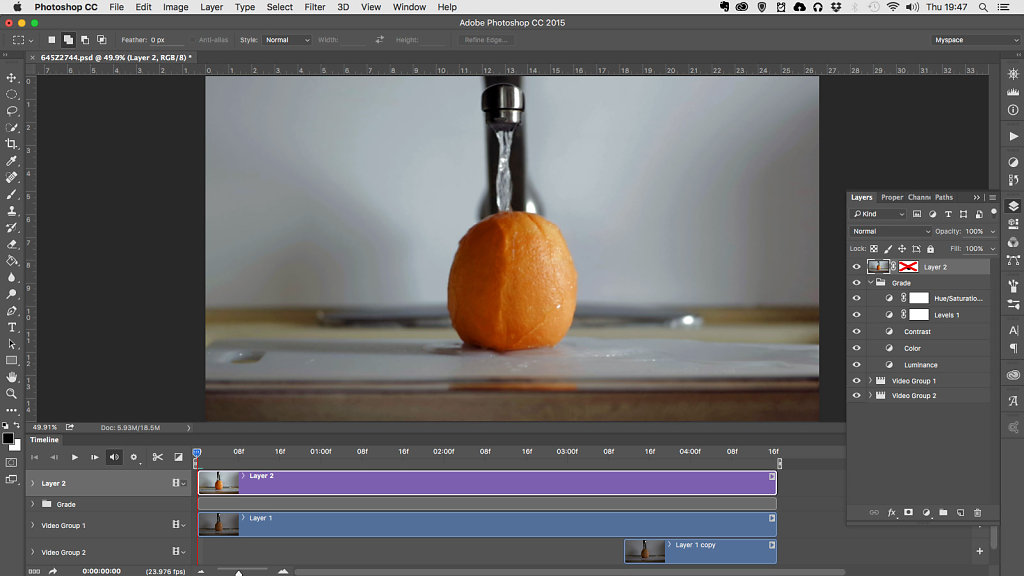
Now it’s very important to note that if you use grading to make sure that all those adjustment layers sit in a group outside and above in the layer tree of the video groups. If you don’t do this, then the next step will not give the desired results. At this point we have a beautifully graded short clip, but it’s not yet a cinemagraph. It has too much motion. The idea is to look like a still with limited motion. We must now scrub through the video and find a spot which we think will make a great still. Once we find that spot we use the Command-Option-Shift-E keyboard shortcut to basically capture that specific frame as a still on a new layer, making sure that it sits at the top of the layer tree as seen below.
If you play the video now you will see zero motion. We are almost there. Now to add motion back all we have to do is create a layer mask and using a brush set to zero hardness and flow and opacity at 100 percent paint black on the mask where the orange is. It should look like this when done.
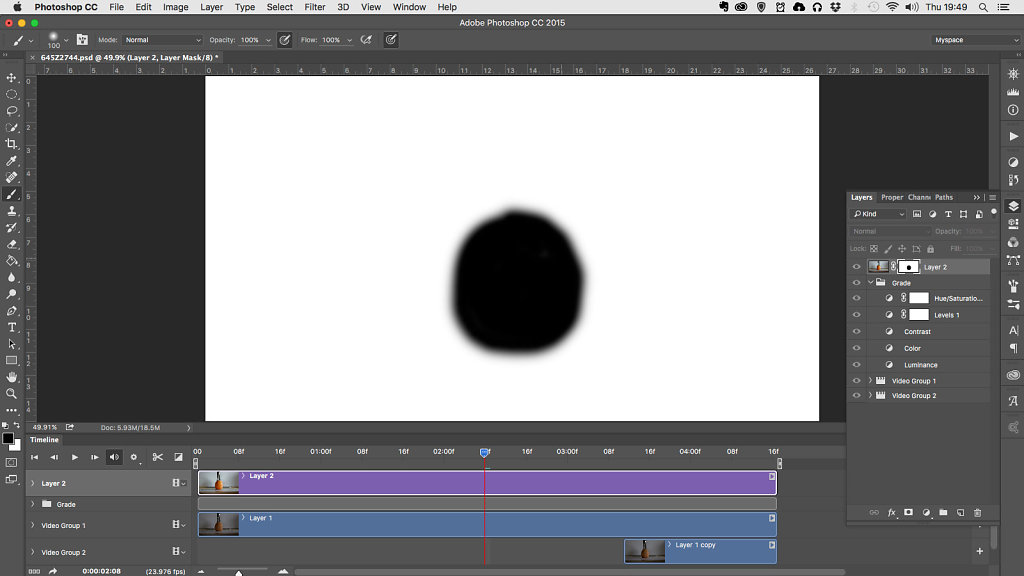
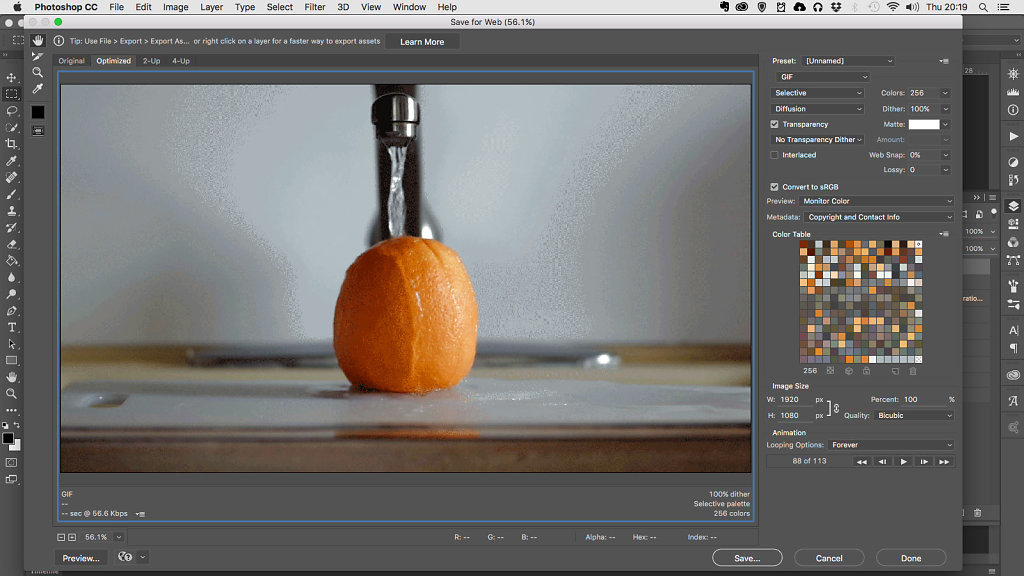
If you play the video now you’ll see the image stays perfectly still except where the mask is black. There the motion from the clips below take over showing nation. Now if there is any retouching you need to do at this point for say a beauty cinemagraph you do it to this layer, making sure that the mask for the motion hole gets copied to any layers that you create for retouching. finally we can export this video using the “Save For Web” feature as a GIF file set to diffusion, Dither at 100%, 256 color and looping set to Forever.
Finally below is a short video going over the entire process.
Feel free to comment below, or like and subscribe on YouTube and ask in the comments there. See you in the next article.